DIY Solar vs. Goal Zero solar generators

I see a lot of posts on the Internet, especially on reddit, that ask about an emergency power solution for laptops, tablets, and phones. This is a pretty common kind of post on /r/solar. I usually just reply with a design for a basic solar powered charging system, but I decided to write this guide to small solar power systems instead.  

This post is both a description of a basic solar charging station, and a comparison of commercial “solar generators” vs.a DIY alternative. The Goal Zero Yeti 400 Solar Generator the OP is considering costs $460 on Amazon, or $659.98 including a 30 Watt solar panel. To anyone who has built small-scale solar systems, these prices and the item description set off an alarm. This $460 product is named for what the manufacturer calls it’s peak capacity, 396Wh, the size of the battery in watt hours  (12V, 33Ah). This is a relatively useless number. The name and price are both similar to the gas-powered portable generators sold by big box retailers, but the components are that of a relatively low cost off-grid solar system.What is in this solar generator?

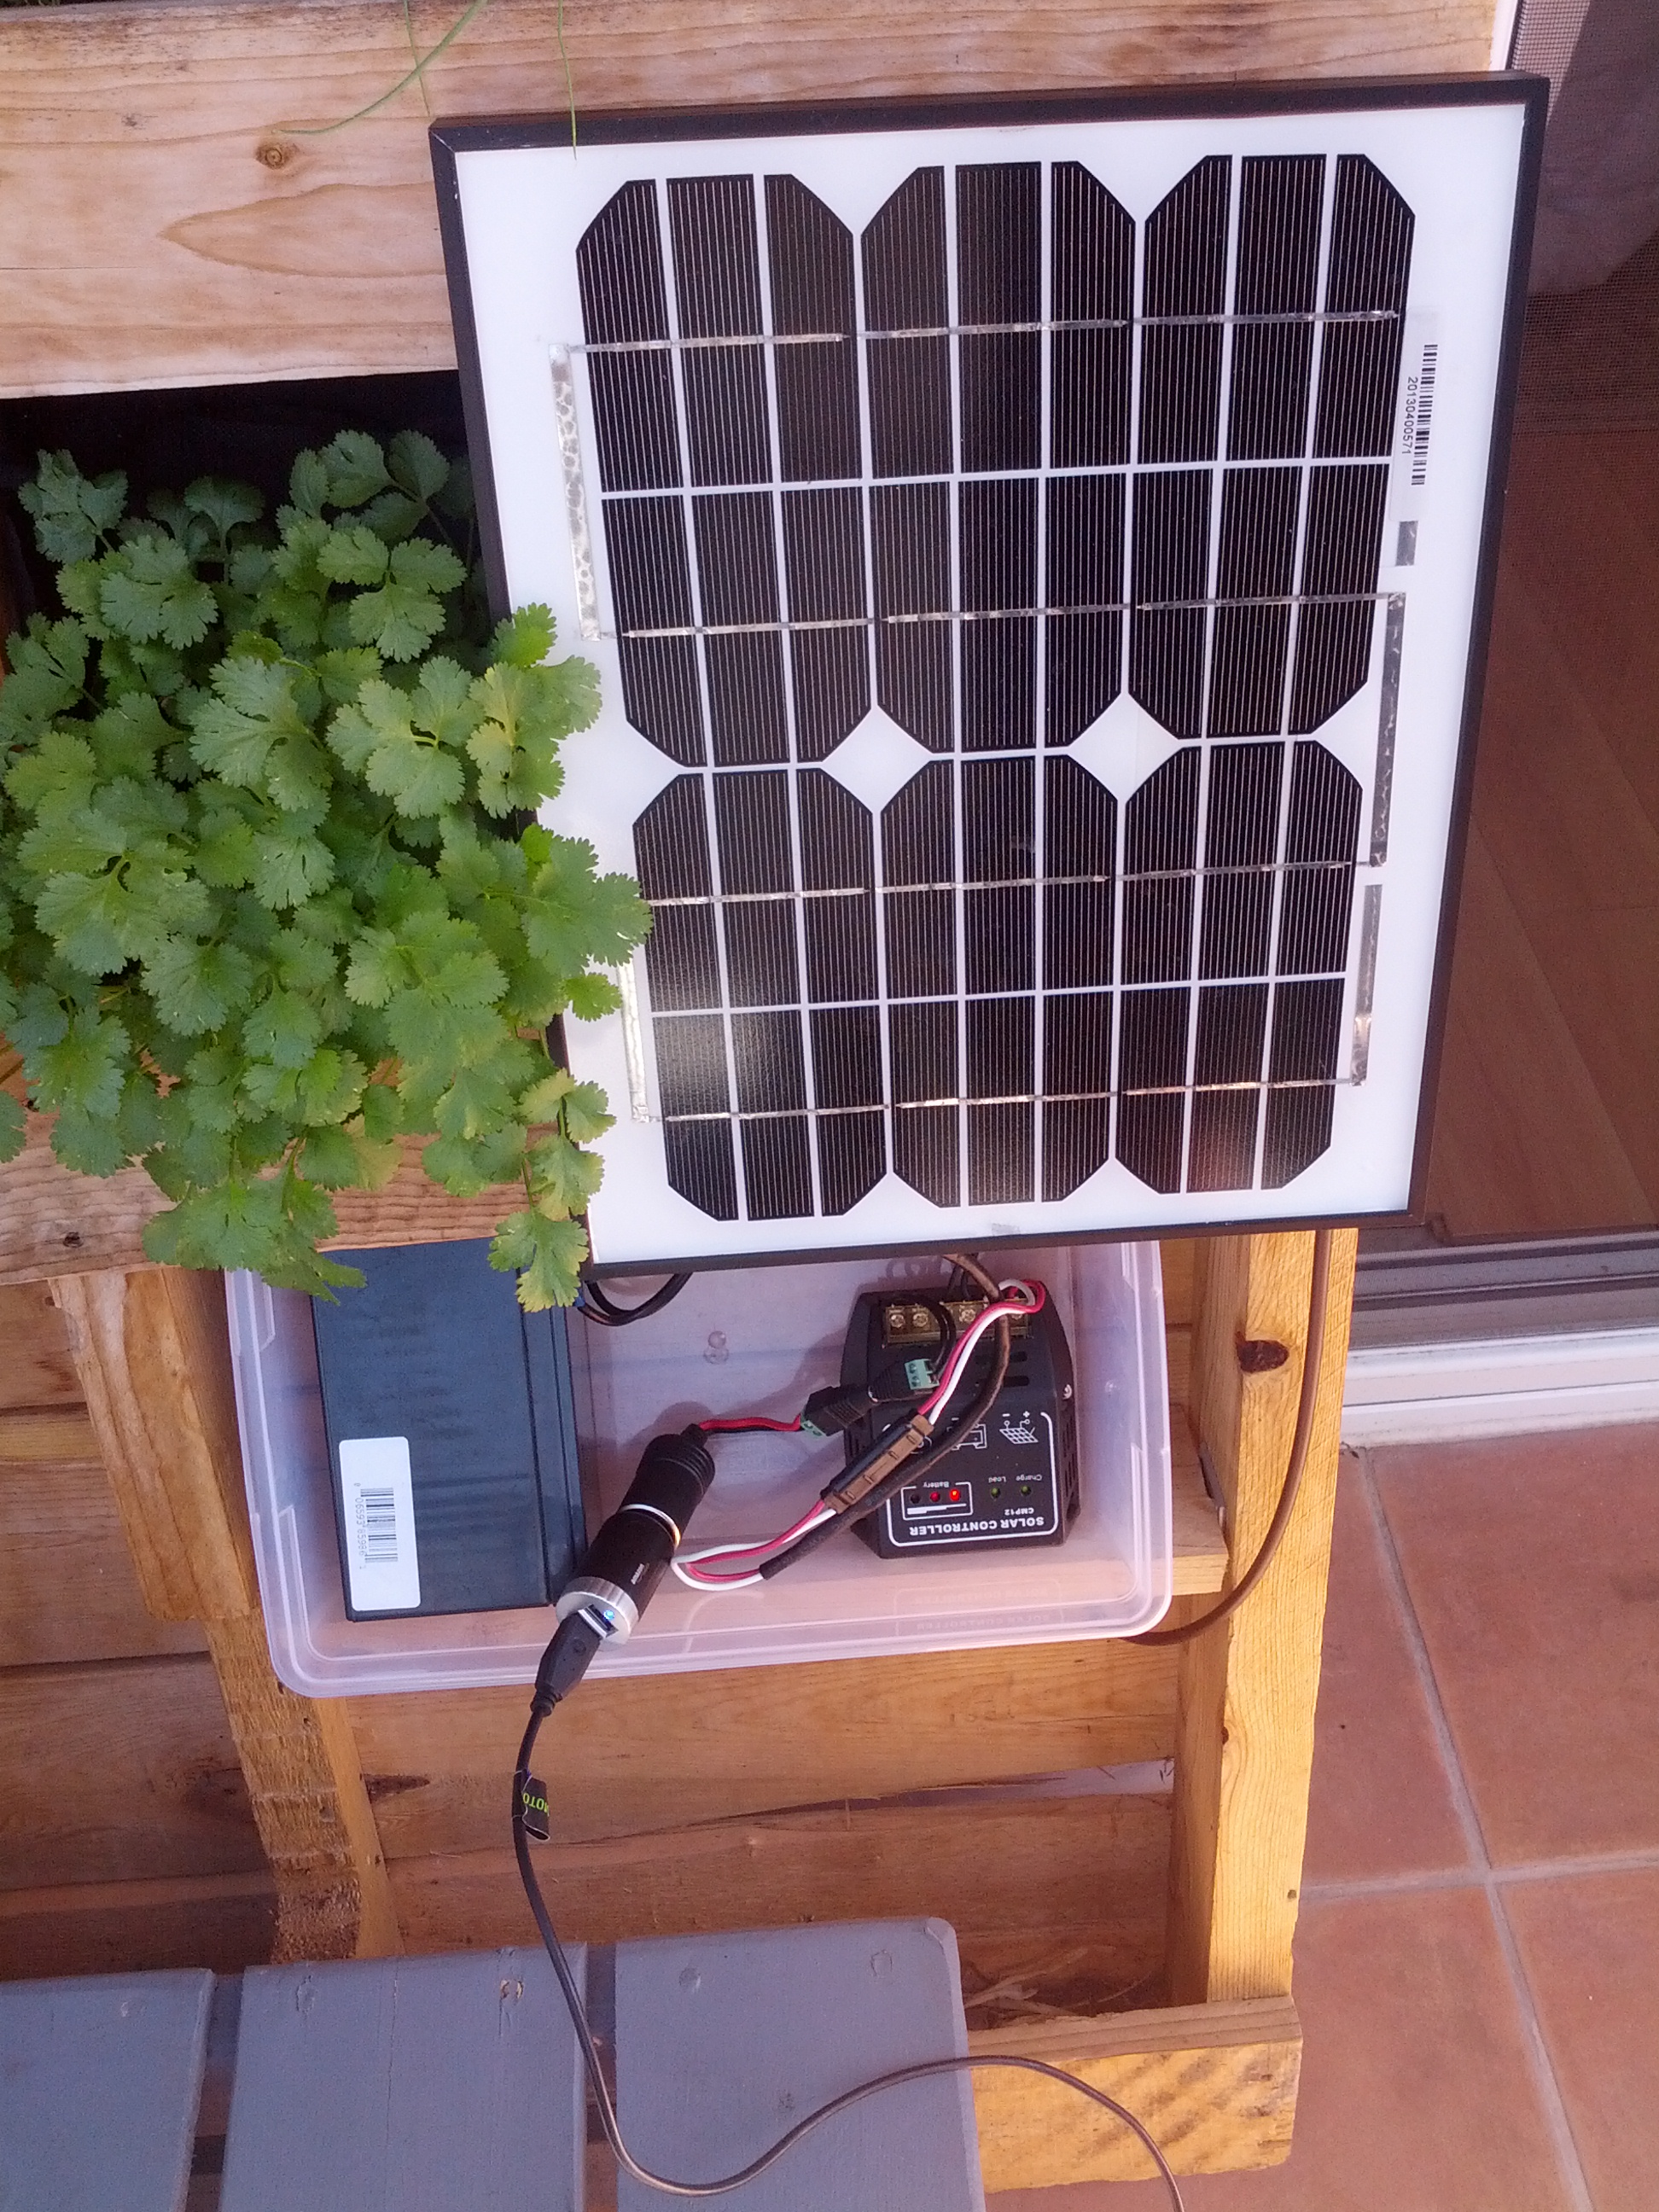
  1. A solar charge controller.
  2. A 33Ah 12V battery.
  3. A 12V->5V regulator (2.1A peak) for USB ports.
  4. A 300W continuous output inverter for 110V AC.

So that’s what you get for $460! Notice that doesn’t include any solar panels.
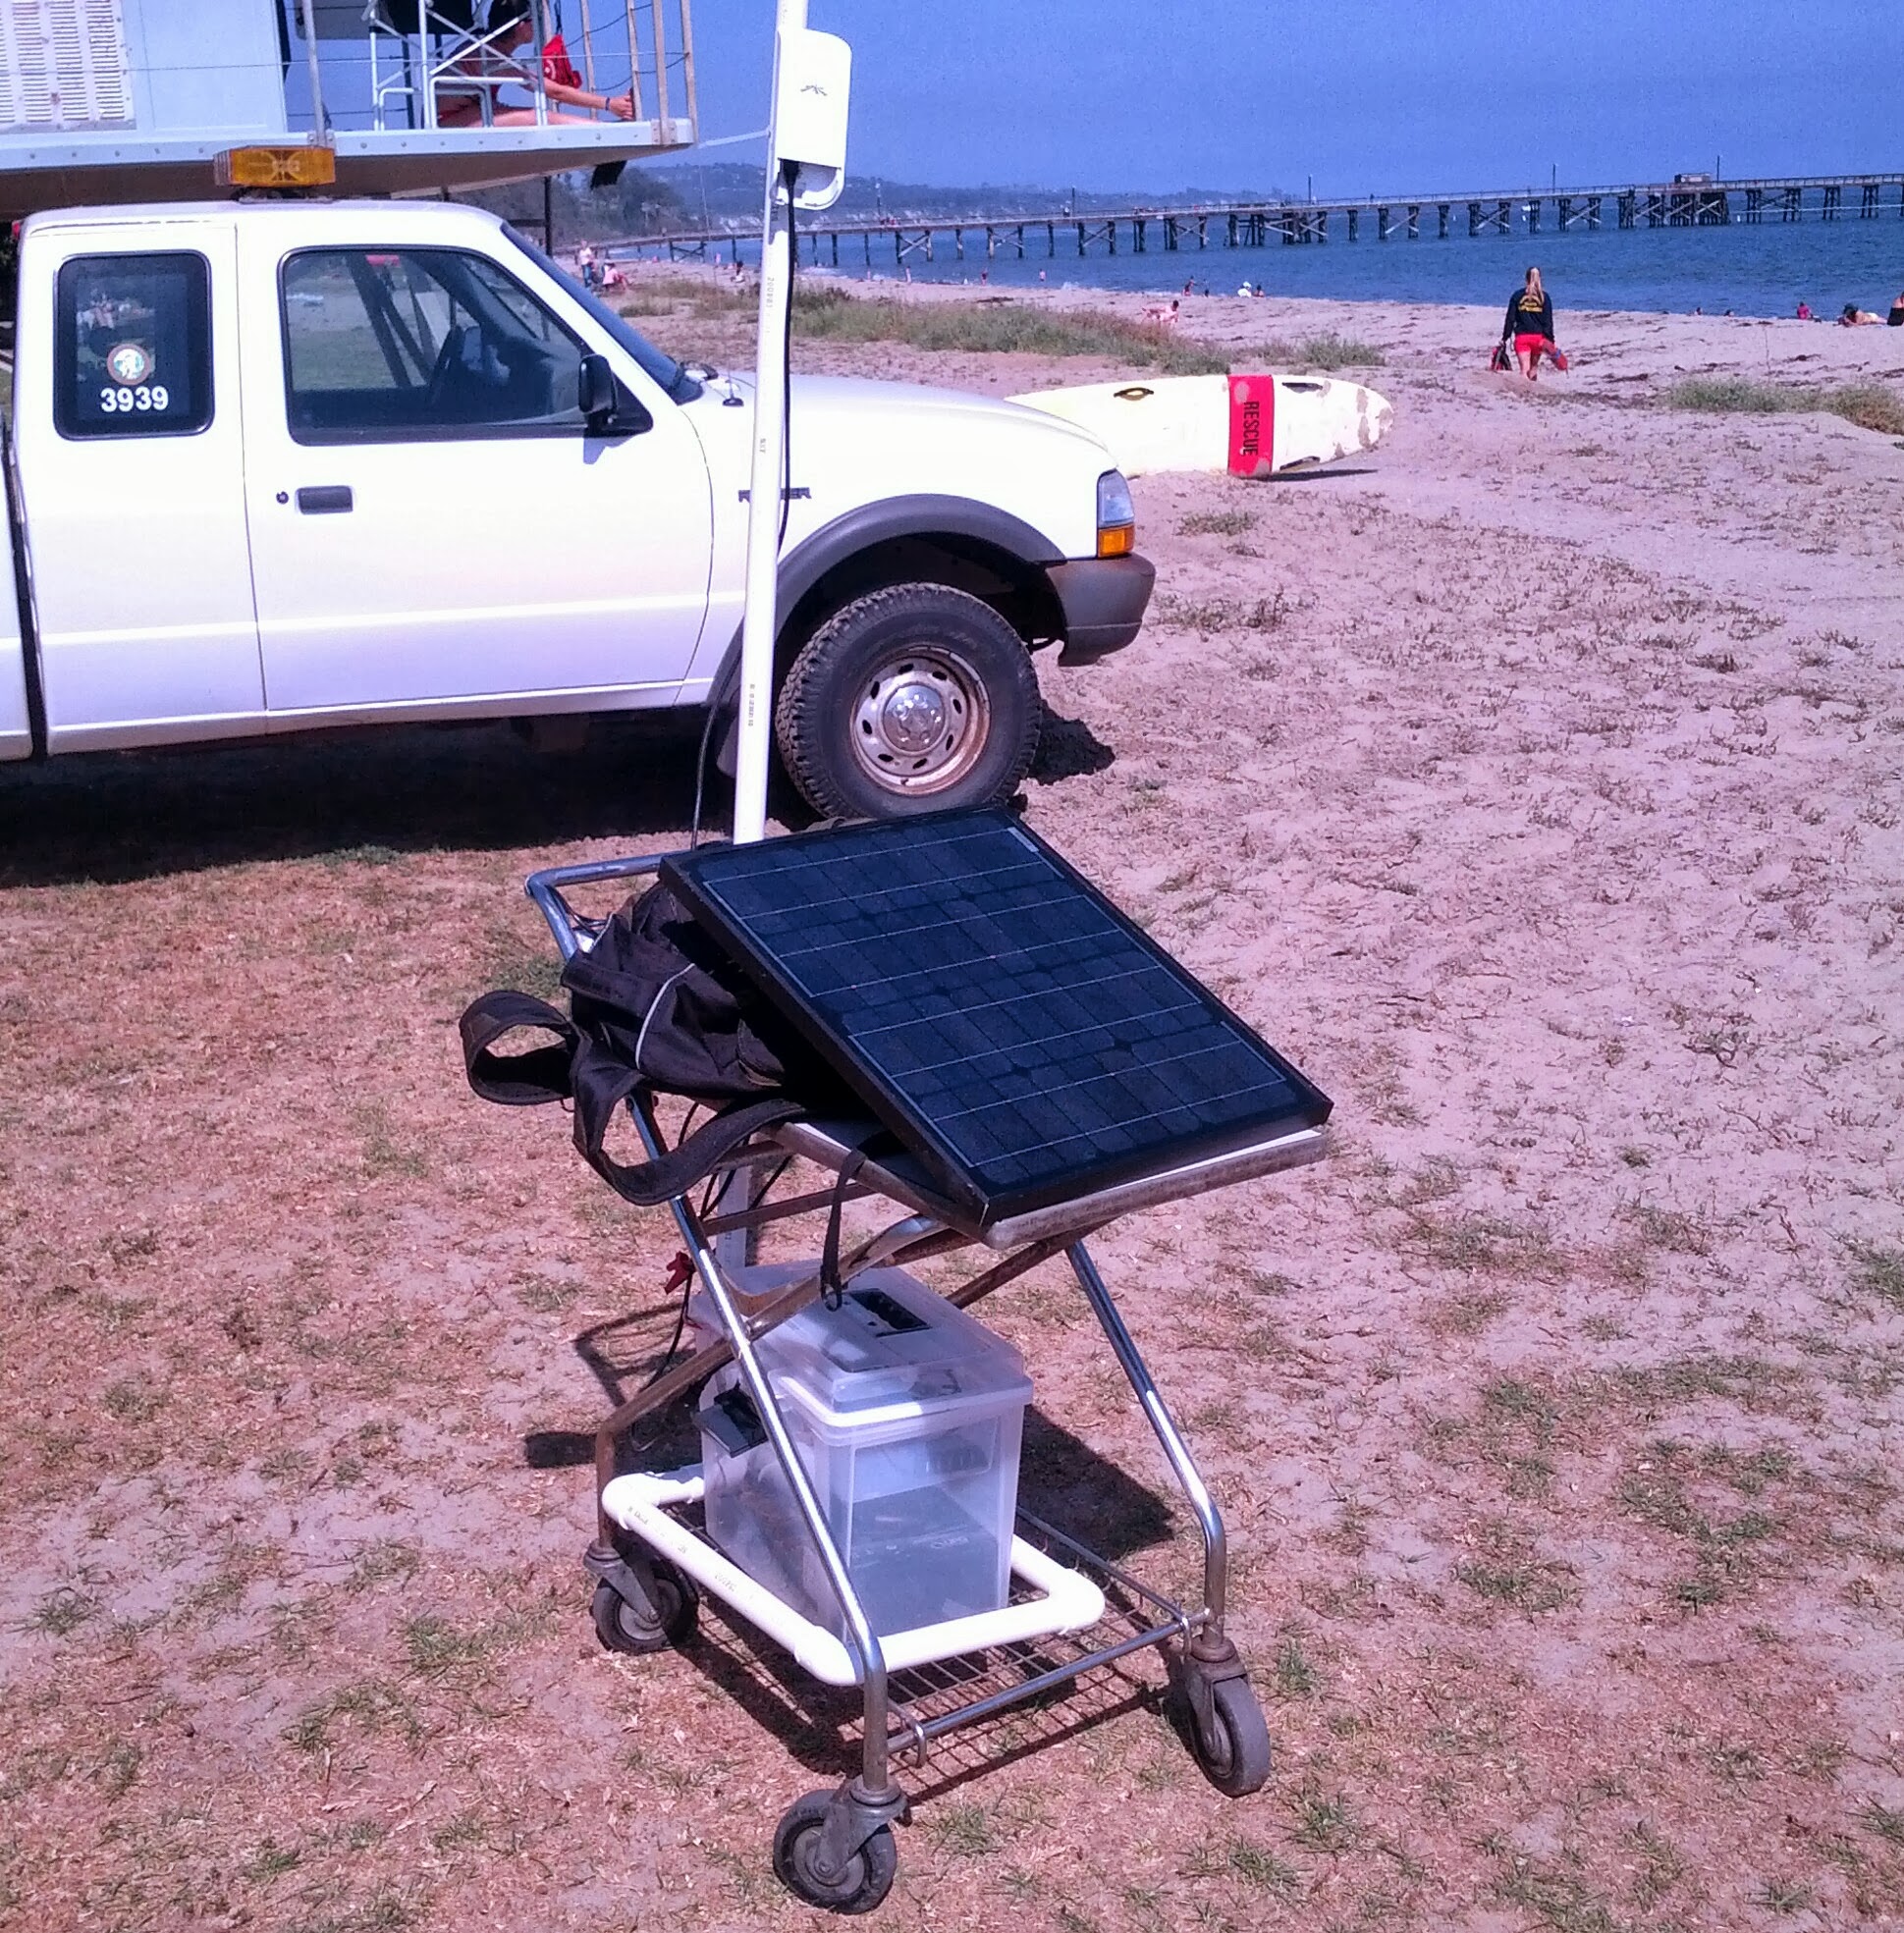
You could build a similar system yourself for as little as $95 from Amazon, and a very basic knowledge of electronics. You just need to purchase the same components, individually. I’ve selected products from Amazon with similar specifications to the rated specs of the Goal Zero Yeti.

A 35Ah 12V battery  $63.99

A solar charge controller $21.99

An 110V AC inverter (300W continous, equivalent to Goal Zero Yeti)   $27.99 

A 12V->5V USB car charger. (4.2A peak, twice the Goal Zero Yeti) $9.99

A female cigarette lighter port. $2.89

Total cost: $126.85. Even with another $30 for wires, connectors, or even a multimeter, you’re still saving at least $300 by building it yourself. Follow the instructions provided by the manufacturers to connect everything together, stay safe, and save money!

Goal Zero solar panels are similarly overpriced. Their Boulder 30W solar panel is $200 and has a similar weight and expected output as a $69 30W panel on Amazon. So to anyone considering a pre-made “solar generator”, know that you could build a DIY equivalent to a system sold for $659.98 with less than $200 in parts. If you’re looking for an emergency solar generator, build it yourself, ask questions on reddit, and save yourself $450!

Using a 10W solar panel and 8Ah battery to charge phones and run a Wi-Fi Access Point

Using what I learned from my previous 30W system, I decided to create an ‘ideally sized’ system for low powered devices. The device I had in mind is a low-cost router that is very popular with the OpenWRT community, the TP-Link 703N. This ~$25 router consumes about 1 Watt of energy (~200mAh @ 5V) and is powered via a standard micro USB port.

10wopen

The solar setup for this system was sourced entirely from Amazon. It consists of four components, which you can see in the image above: A 10W solar panel, 8Ah 12V battery, charge controller, and a cheap 12-24V->5V power regulator which provides 2 USB ports, providing up to 2.1Amps @ 5V.

Total cost on the electrical side, sourcing entirely from Amazon:

$39.99 + $20.79 + $17.59 + $9.12 = $87.49 

The only cost left out is wire and connectors from my parts drawers, the most significant in this case being a salvaged cigarette lighter port which would run you $2-4 on ebay or Amazon.

Based on my calculations, this system could run 24/7/365, if it were positioned ideally (here in sunny California) and there were never more than 2 days in a row without sun. It would continue to run for 4 days in a row without sun, but this would damage the battery, so I use an Arduino with a TIP120 transistor to cut power to the 703N, preventing battery over-discharge.

My preferred battery type is an absorbed glass mat or gel battery. AGM batteries are sealed, do not requiring watering, and can be used in any orientation. They can even be carried in checked baggage on airplanes, so your system is truly portable! This is useful for rapid deployments to disasters or just for traveling to a conference with a demo sized solar system.

Make sure your battery is a deep cycle battery. If you keep the average cycle at about 50% discharge, you will have a long lifetime at a low cost. Over-discharging will reduce the battery lifespan, so my systems are designed to have 2 days of buffer– that is, run for 48 hours with no sun before discharging below 50%.

The panel in this case is sized to generate enough power from 1 day of winter sun to charge the battery from 50% to 100%, while simultaneously powering the TP-Link 703N. That means we generate 48Wh per day to charge the battery, and 24Wh per day to run the 703N.

The calculation I used to figure that out is below, and also explained a bit more fully in my presentation at the 2013 International Summit for Community Wireless Networks. Here’s a PDF download of the slides from my presentation: Solar Power Basics

The calculation below takes as input:

  • The power consumed by the 703N
  • The hours of sun on the ‘worst-case’ day, which you can find using a sun chart.
  • The number of days in a row without sun you expect.

It then determines how large of a battery and solar panel you will need. You’ll notice the required battery capacity is four times the daily energy usage, providing ample buffer and preventing over-discharge. The 10W solar panel will be able to charge the battery from half to full with seven hours of ideal sun per day, while using the 703N as a Wi-Fi access point.

TP-Link 703N
Power consumption 1.0049 Watts
Max days without sun 2 days
Hours of sun per day in winter 8 hours
Daily energy usage 24.1176 Wh
Required battery capacity 96.4704 Wh
@12V 8.0392 Ah
Charge from 50% to full: 48.2352 Wh
Run you device for a day: 24.1176 Wh
Total power generation required per day: 72.3528 Wh
Size of panel required @ 85% charge controller efficiency 10.6401176470588 Watts

Using a 30W solar panel and 22Ah Battery to power a Ubiquiti radio

This is one of my first setups! It’s a 30W Solar Panel, 22 Amp Hour Battery, and a cheap charge controller.

$84.50+$45.15+$19.99= $149.64. 

Since these components are all low voltage DC, and the amperage put out by the solar panel is quite low, I suggest you use standard 2.1×5.5mm DC barrel plugs to connect everything. Grab a pack of 10 male  and 10 female from Amazon. If you keep developing solar power setups as a hobby, you’ll definitely use them all eventually, and a pack of 10 barrel plugs is roughly the cost of 1 ‘solar panel connector’ like this MC4. These also have the benefit of connecting directly to devices that use 2.1×5.5mm barrel plugs, though you should always take care to ensure you provide the voltage your device expects, and that your battery and voltage regulators are capable of providing enough current to power your device.

30w


The Wi-Fi radio in this system is a Ubiquiti Nanostation Loco M2. It’s running the Commotion DR2 firmware, which allows it to broadcast an Access Point locally while simultaneously communicating with a distant radio.

In order to maintain portability, I went with a 22Ah battery, which weighs only 14 pounds (6.35kg). I wanted a system that could be put in a backpack or travel box, and still be comfortable to carry with 1 hand. This system is pretty powerful considering its portability, but is still a little undersized for Ubiquiti devices. I’ve used a 5W average power consumption for the calculations below.

Based on my power measurements, this is actually a slightly too small panel and battery to run this load 24/7. The M2 Loco draws between 4 and 8 Watts when being used. The Nanostation can drain a 22Ah 12V battery in 33 hours-53 hours, depending on the number of users. So this system works great for occasional or temporary use… i.e. 16 hours a day, or for up to 2 days in an emergency. I try to run it for 20 hours or less at a time, to ensure the battery never drops below 50% charge.  With a 50W solar panel and a 40Ah battery, you could run a Nanostation M2 Loco 24/7 even with 2 days in a row of no sun.

 if you want to run any device off solar power 24/7/365, step 1 is to determine the ‘minimum hours of sun per day in winter’ using a U. Oregon sun chart. You also need to determine the average and/or maximum power consumption of your device, and determine either how many days in a row without sun your area can get, or if the occasional failure is acceptable, the number of ‘reserve days’ you can be powered with no sun.

Nanostation M2 Loco
Power consumption 5 Watts
Max days without sun 2 days
Hours of sun per day in winter 10 hours
Daily energy usage 120 Wh
Required battery capacity 480 Wh
@12V 40 Ah
Charge from 50% to full: 240 Wh
Run you device for a day: 120 Wh
Total power generation required per day: 360 Wh
Size of panel required @ 85% charge controller efficiency 42.3529411764706 Watts

If you want to perform the calculation above for your own devices, I made a spreadsheet that does the math for you. You’ll also find power measurements from common devices, including the Nanostation M2, TP-Link 703N, Raspberry Pi Model B, and some newer devices, such as the Village Telco Catbert and Koruza Wireless Optical Device.